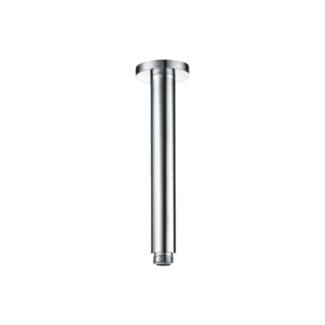
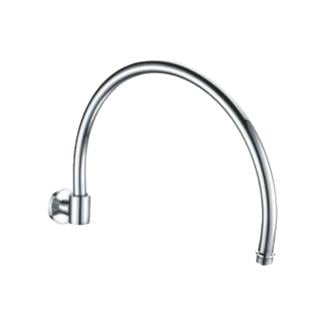
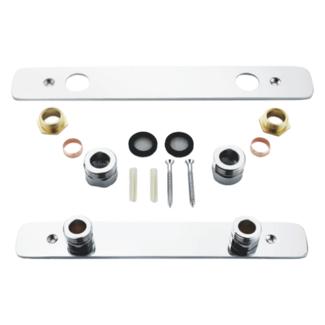
A wall-mounted kitchen tap gets approved twice: once when the client sees the sample, and once — silently, three years later — when somebody has to service it. Everything the client admires is decided in one afternoon by an installer with a hammer drill, a level and a reel of PTFE tape. Get that afternoon right and the fitting clears the worktop, fills a stockpot without acrobatics and still looks new after a decade. Get it wrong and the remedy involves a chisel and a tile merchant.
Three conditions justify the extra cost and coordination.
The worktop can't take a hole. Sintered stone, thin-rim ceramic and timber butcher-block are expensive to drill and unforgiving of a misplaced 35 mm core. Moving the tap to the wall shifts the risk off the most expensive surface in the room.
The sink is deep and the user is short. A deck-mounted tap on the rear deck of a 220 mm bowl forces the user to reach over the rim. A wall outlet roughly 1000–1100 mm above finished floor, projecting over the bowl centre, puts water where the hands are.
Cleaning matters more than the price gap. No deck holes means no silicone ring, no trapped water, no mould line behind the tap — a real selling point in commercial kitchens.
Where it loses: a lightweight stud wall with no reliable fixing, a low window sill above the sink, or a full-height glass splashback that cannot be drilled after installation. In those cases a deck-mounted mixer with a pull-out spray is the honest answer.
The visible spout is a shell. The concealed body does the mixing, carries the pressure and holds the cartridge, and it decides whether the installation survives.
Confirm connection type and depth before the wall closes. European and Middle East projects usually expect G 1/2 male inlets on 150 mm centres, but variations exist, and a body that arrives with the wrong centres becomes a demolition order.
Then insist on a body that can be pressure-tested and flushed while still accessible, and that carries isolators or can be paired with them. A concealed mixer without isolation makes every future cartridge change a mains-off event for the whole building.
For drinking-water markets the wetted materials need real approvals, not a logo on a datasheet: WRAS for the UK, NSF/ANSI 61 with NSF/ANSI 372 for lead content in North America. The product standards behind those marks are EN 817 for mechanical mixing valves, EN 1111 where a thermostatic element is involved, and EN 200 for single and combination taps. Ask for certificate numbers.
This is the most common failure and it is entirely avoidable.
A rough-in body is set relative to the *structural* wall. The tap screws to the *finished* face. Between them sit studwork, backer board, adhesive, tile and often a waterproofing membrane — commonly 25 to 40 mm, sometimes more under a thick porcelain slab.
Set the body flush with the bare wall and the finished surface buries it: the cover plate will not seat, the spout collar stands proud of nothing, and the joint gets packed with silicone that fails within a season. Set it too deep and the spout cannot engage the outlet threads fully. Thread engagement is a pressure-retaining joint; two or three turns is not a joint, it is a leak waiting for a cold night.
The fix is procedural. Establish the tiling datum, write it down, and measure the body from the intended finished face rather than the substrate. Where tile thickness is still undecided, specify the largest plausible build-up and use an extension nipple instead of guessing.
Buyers pick projection from a catalogue photo. It should come off the sink drawing.
Measure three things: finished wall face to the rear edge of the bowl, rear edge to bowl centre, and bowl depth. The outlet should land near the bowl centre — slightly behind is better than in front, because water landing at the front edge splashes the user and the floor. The same applies when reaching across a double bowl.
On a typical 500 mm cabinet with the bowl set forward, 200–250 mm of projection from the finished wall usually lands correctly. A deep single bowl draining at the rear needs more, and the outlet should sit higher so the aerator clears the rim with a large pot against the back of the bowl.
Test clearance against the tallest thing the client actually owns — a stockpot, a preserving pan, a tall filter jug. A spout that cannot clear a pot makes people tilt it, and that is how taps get bent.
Three interfaces, usually drawn by three people who never speak.
Access. Concealed bodies need a service route. Plan a removable panel behind the base cabinet, inside a tall unit, or as a hatch in the splashback zone — large enough to reach both isolators and the cartridge nut with a spanner, not just fingers. Record its location in the handover pack; the person who needs it will not be the person who installed it.
Splashback. Its thickness is part of the build-up. A 20 mm stone panel bonded to the wall moves the body forward by that much plus adhesive.
Cabinet depth. A 600 mm base unit leaves little behind the sink once bowl, waste and service void are counted. A body projecting into the cabinet back is normal, provided the cavity behind is not a sealed box full of pipework. Give the installer a clear 50–75 mm service zone.
· Check · Target ·
|---|---|
· Body position measured from · Intended finished face, not substrate ·
· Total build-up recorded · Backer + adhesive + tile + splashback ·
· Inlet centres and thread · G 1/2 male, 150 mm centres (confirm) ·
· Outlet thread engagement · Full thread, no packing washers ·
· Isolation valves · Hot and cold, both accessible ·
· Pressure test before closing · At working pressure, 30 minutes ·
· Projection vs bowl centre · Outlet at or just behind centre ·
· Aerator clearance · Clears tallest pot at full swing ·
· Access panel · Removable, spanner-reachable, location recorded ·
Print it, tape it inside the cabinet door, and the probability of a callback drops sharply.
A wall-mounted tap is a coordination product, not a decorative one. The specification that actually matters is the 30 mm of wall nobody photographs.
Zhejiang Xindong Sanitary Ware Co., Ltd. is an OEM/ODM manufacturer of kitchen mixer taps and brass basin mixers in Yuhuan, Zhejiang, China, supplying distributors and project specifiers with concealed and deck-mounted brass tapware. Technical drawings and OEM enquiries: [email protected] · +86-0576-87499008 · https://www.cn-xindong.com
 Hot News
2026-11-18
2026-11-17
2026-11-16
2026-11-11
2026-11-10
2026-11-09

The company, founded in 1999 and located in Yuhuan,specializes in taps, thermostatic shower valves and shower kits. With over 30,000 sqm of space and 380+ employees, we hold numerous certifications and 65+ patents.
 EN