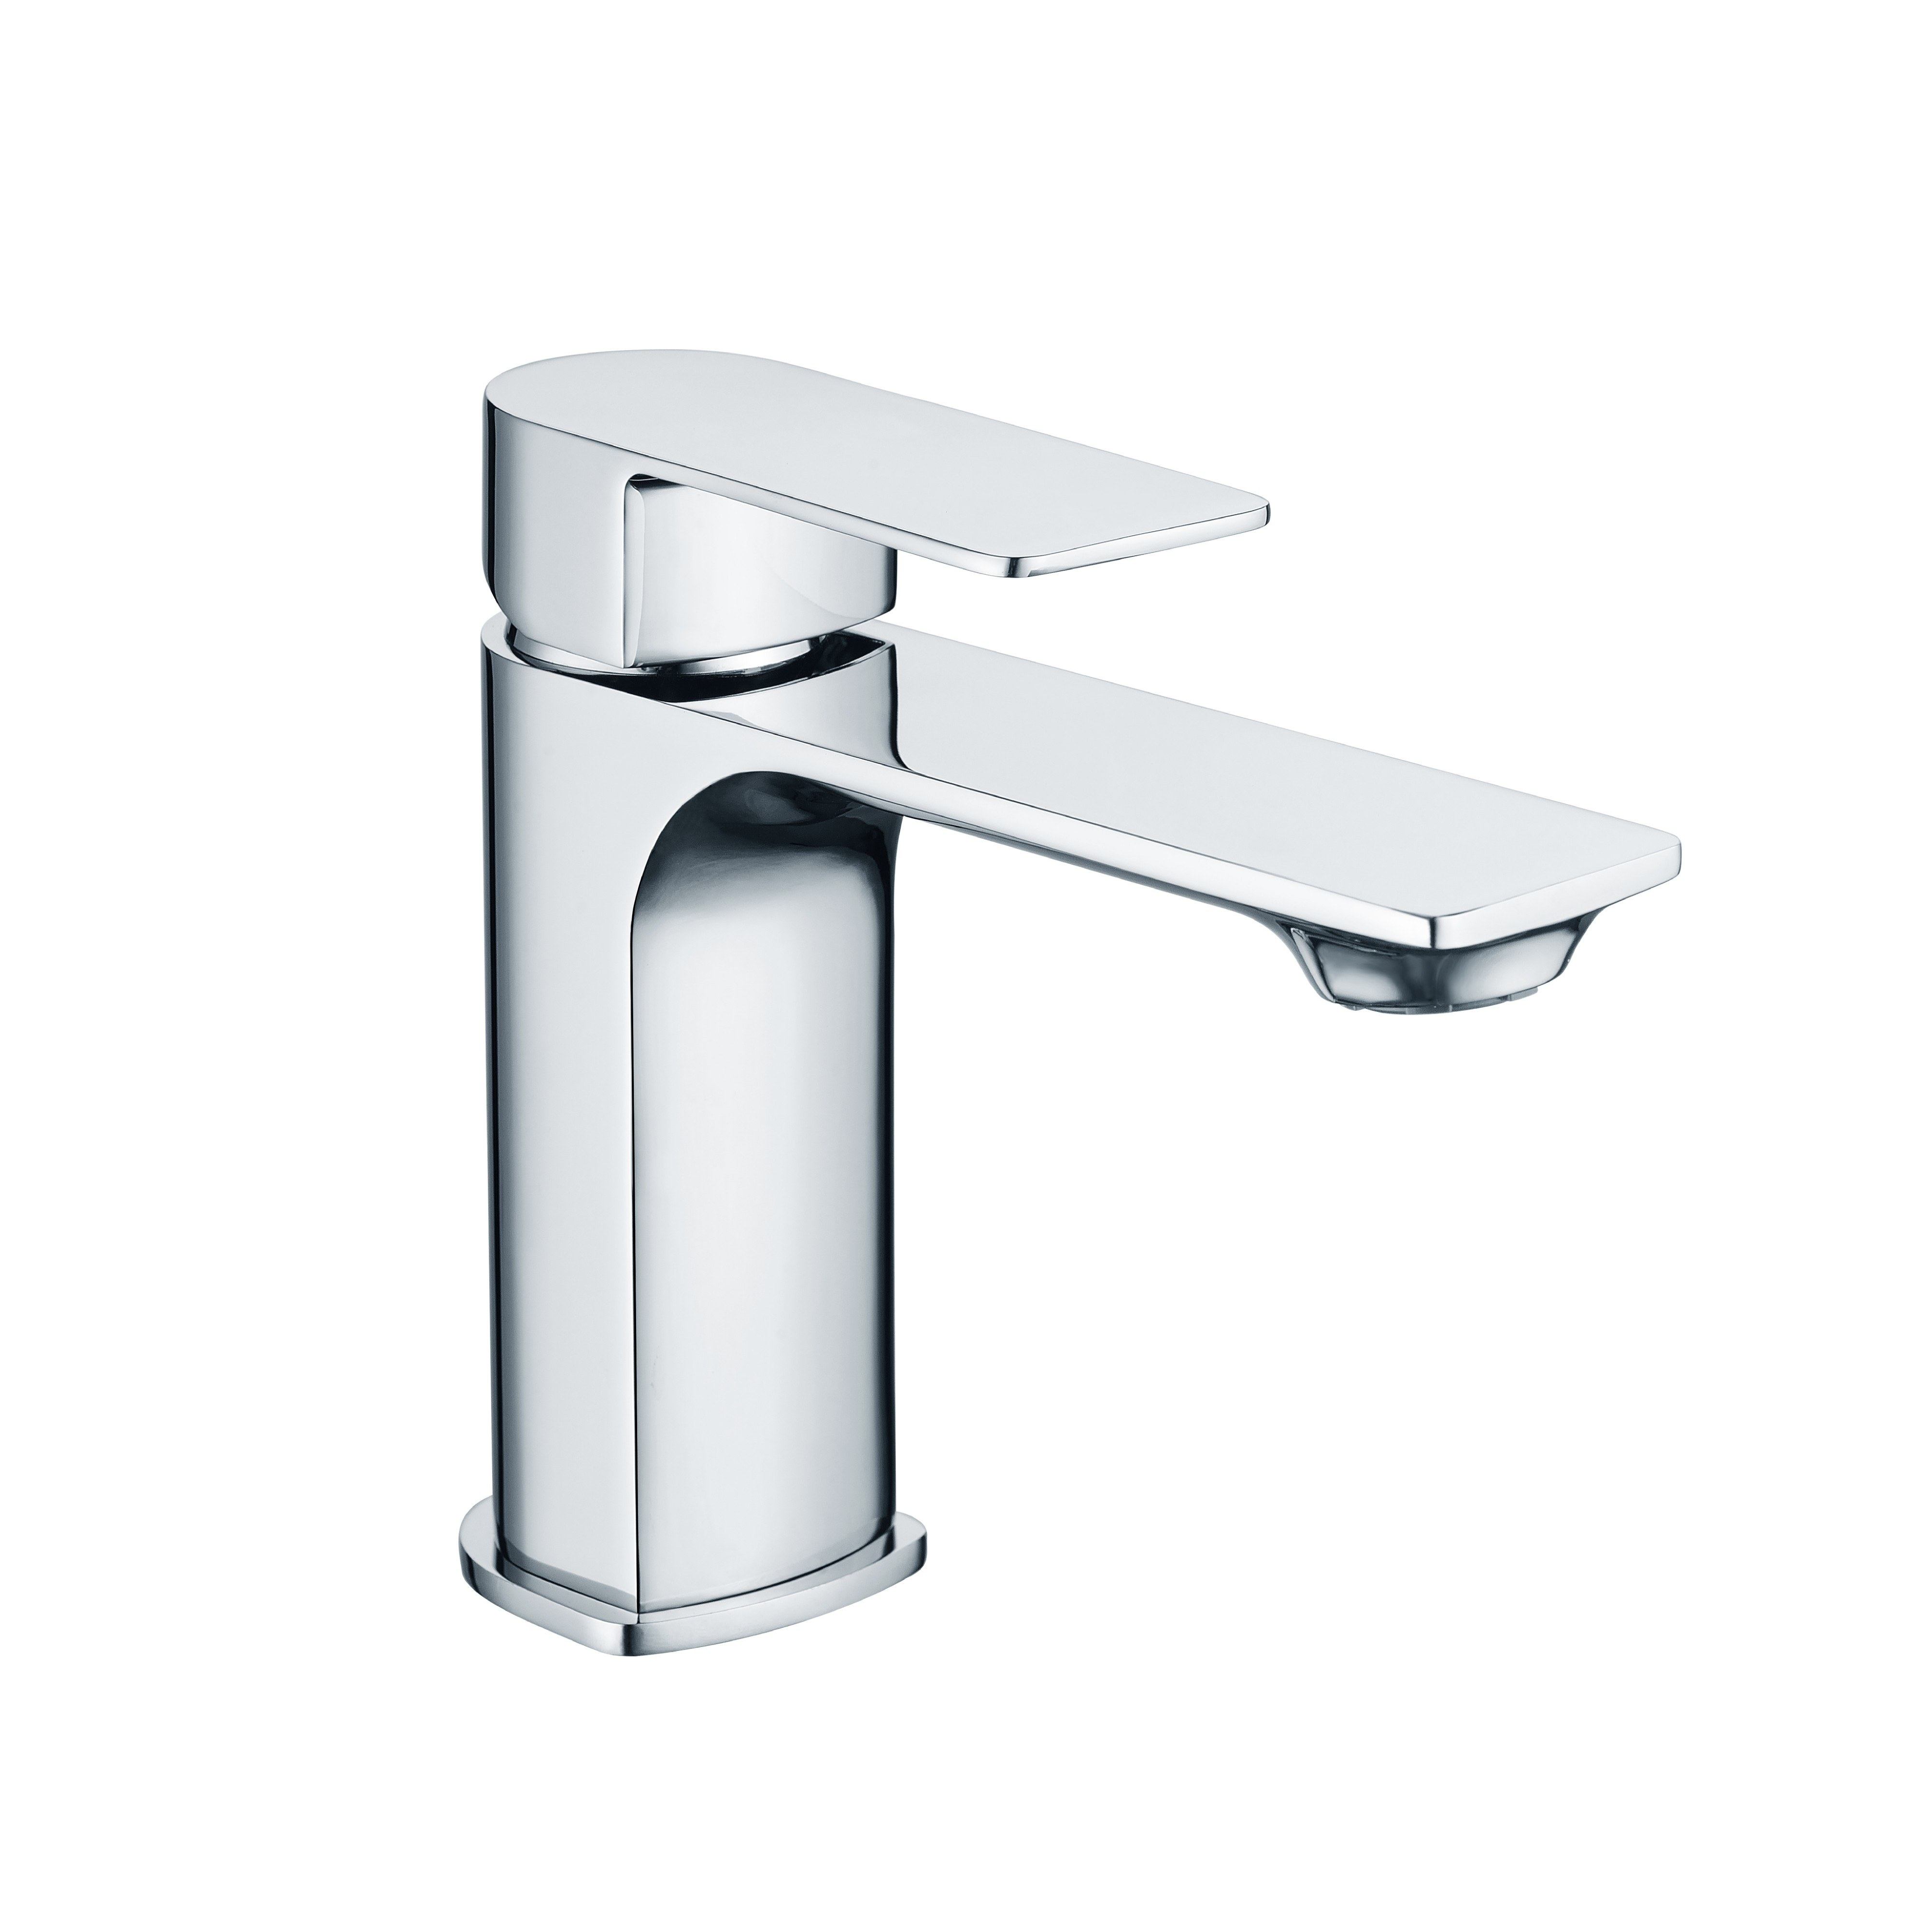
A basin mono mixer is a simple machine: one body, one ceramic cartridge, one aerator, two inlet tails. Almost every complaint that lands on a maintenance desk — a drip, a lever that feels full of sand, a spout that has gone weak — traces back to one of those four parts. The skill in servicing is not the dismantling. It is deciding which part is guilty before you put a spanner near a chrome surface.
This guide is written for installers, hotel maintenance teams and importers fielding warranty questions, and follows the diagnostic order we use on the test bench.
Symptom |
Most Likely Cause |
How to Confirm |
Correct Action |
Steady drip from the spout, lever closed |
Worn or debris-scored ceramic plates; damaged seat |
Isolate, remove cartridge, inspect ceramic faces |
Clean and refit, or replace cartridge |
Weeping from under the lever |
Retainer ring loose, or stem O-ring perished |
Dry, operate lever, watch the bonnet |
Re-torque to spec, or fit new cartridge |
Lever stiff, gritty or notchy |
Scale on the stem, washed-out grease, swollen O-rings |
Operate lever with cartridge removed |
Descale, re-grease, replace if scored |
Weak flow at the spout only |
Blocked aerator or flow regulator |
Compare flow with the aerator removed |
Soak in descaler, replace insert |
Weak flow at every outlet |
Partly closed isolator, blocked inlet filter, low pressure |
Gauge pressure at a nearby outlet while running |
Clean filters, restore pressure |
Water at the base of the body |
Failed body O-ring, or body cracked by over-torque |
Dry, then watch the joint while running |
Re-seal, or replace the mixer |
Work down the table in order. It costs five minutes and prevents replacing a cartridge when the real fault is a half-closed isolator behind a vanity unit.
Close the isolating valves under the basin. If there are none — common in older cloakrooms — close the main and open the mixer fully to release residual pressure. Then record the model number stamped on the body, the spout reach, the tail type (flexible hose or rigid copper) and the deck thickness. Photograph all of it; those details plus a ruler against the old cartridge prevent the wrong part arriving twice.
Measure dynamic pressure, not static. A static reading of 4 bar tells you little; a gauge taken while the tap runs tells you what the cartridge and aerator actually see. EN 817, the European standard for mechanical mixers rated PN 10, sets performance against defined test pressures, and a mixer that is fine at 3 bar can behave very differently on a gravity system at 0.4 bar.
Debris is the first false alarm. On new pipework, solder residue, hemp fibres and swarf collect on the inlet filters, then on the ceramic plates. The cartridge is innocent. Flush pipework before fitting and clean the filters at commissioning.
The second is thermal expansion. Where a check valve sits on the cold inlet and the cylinder has no expansion relief, water heated overnight pushes back through the mixer. The result is a drip that appears only in the morning and vanishes by lunchtime. EN 1717 addresses backflow protection for potable water installations; if the symptom is time-of-day dependent, look at the system, not the tap.
**Identify the cartridge properly.** Measure the diameter (35 mm is the norm on basin monos, 40 mm on larger bodies), the overall height, the base profile — flat, stepped or with locating lugs — the stem type and whether a diverter is built in. Match dimensions, never a brand name on the old part.
**Remove the lever.** Prise off the index cap, undo the lever screw (usually 2.5 mm hex), lift the lever clear.
**Undo the retainer** with a cartridge spanner or strap wrench. Never use multigrips on a visible chrome collar.
**Pull the cartridge straight up.** If seized, apply descaler around the seat and wait; do not lever against the body rim, which is thin and easy to distort.
**Clean the seat and bore.** Citric-acid descaler and a nylon brush. Flush the body with the supply cracked open, a cloth over the opening. Inspect for scoring or a hairline crack — a cracked body needs a new mixer, not a cartridge.
**Lubricate only the O-rings** with food-grade silicone grease. Keep grease off the ceramic faces; it attracts grit and creates the gritty lever you are trying to cure.
**Torque to the maker's figure.** On a 35 mm cartridge this is typically 8–12 N·m. Over-torquing distorts the ceramic stack and reproduces the original drip within weeks, so use a torque wrench and record the value.
**Commission.** Open the supply slowly, run both temperatures for a minute, then check the bonnet and base joints after ten minutes under pressure.
**Label the service.** Write the cartridge reference and date on a label under the basin. The next technician will thank you.
Scale on the stem is most common, usually where a mixer sits unused for weeks in a hard-water area. Petroleum-based grease is second: it attacks EPDM O-rings, which swell and grip the stem. Third is mechanical — scored ceramic plates, which no grease will rescue. Descale in citric acid, never hydrochloric; fit new O-rings, re-grease with silicone, replace if scored.
Check in this order: aerator insert, inlet filters, isolator position, hose kink, then pressure. Many basin mixers ship with a 5–6 l/min flow regulator to meet water-efficiency criteria, and EN 246 covers the general requirements for those inserts. Removing the restrictor may breach the specification the project was signed off against — verify before you modify.
Flow scales with the square root of pressure. A mixer rated 12 l/min at 3 bar delivers roughly 8.5 l/min at 1.5 bar and about 7 l/min at 1 bar. If a client reports weak flow on a pressurised system, the arithmetic often shows the tap is behaving correctly and the expectation is wrong.
Replace rather than repair when the body is cracked, chrome is lifting at the cartridge seat, or the cartridge is obsolete. Two cartridge replacements plus two call-outs normally exceed the cost of a new mixer, and the customer remembers the second call-out longer than the first.
*Written by the technical sales team at Zhejiang Xindong Sanitary Ware Co., Ltd., a manufacturer of brass basin mixers and wall-mounted mixers supplying importers, distributors and specification projects. Cartridge data for the T749002, T713002, T8802, T7502, T7102 and T730022 ranges is available at www.cn-xindong.com.*
 Hot News
2026-10-23
2026-10-22
2026-10-21
2026-10-20
2026-10-18
2026-10-17

The company, founded in 1999 and located in Yuhuan,specializes in taps, thermostatic shower valves and shower kits. With over 30,000 sqm of space and 380+ employees, we hold numerous certifications and 65+ patents.
 EN