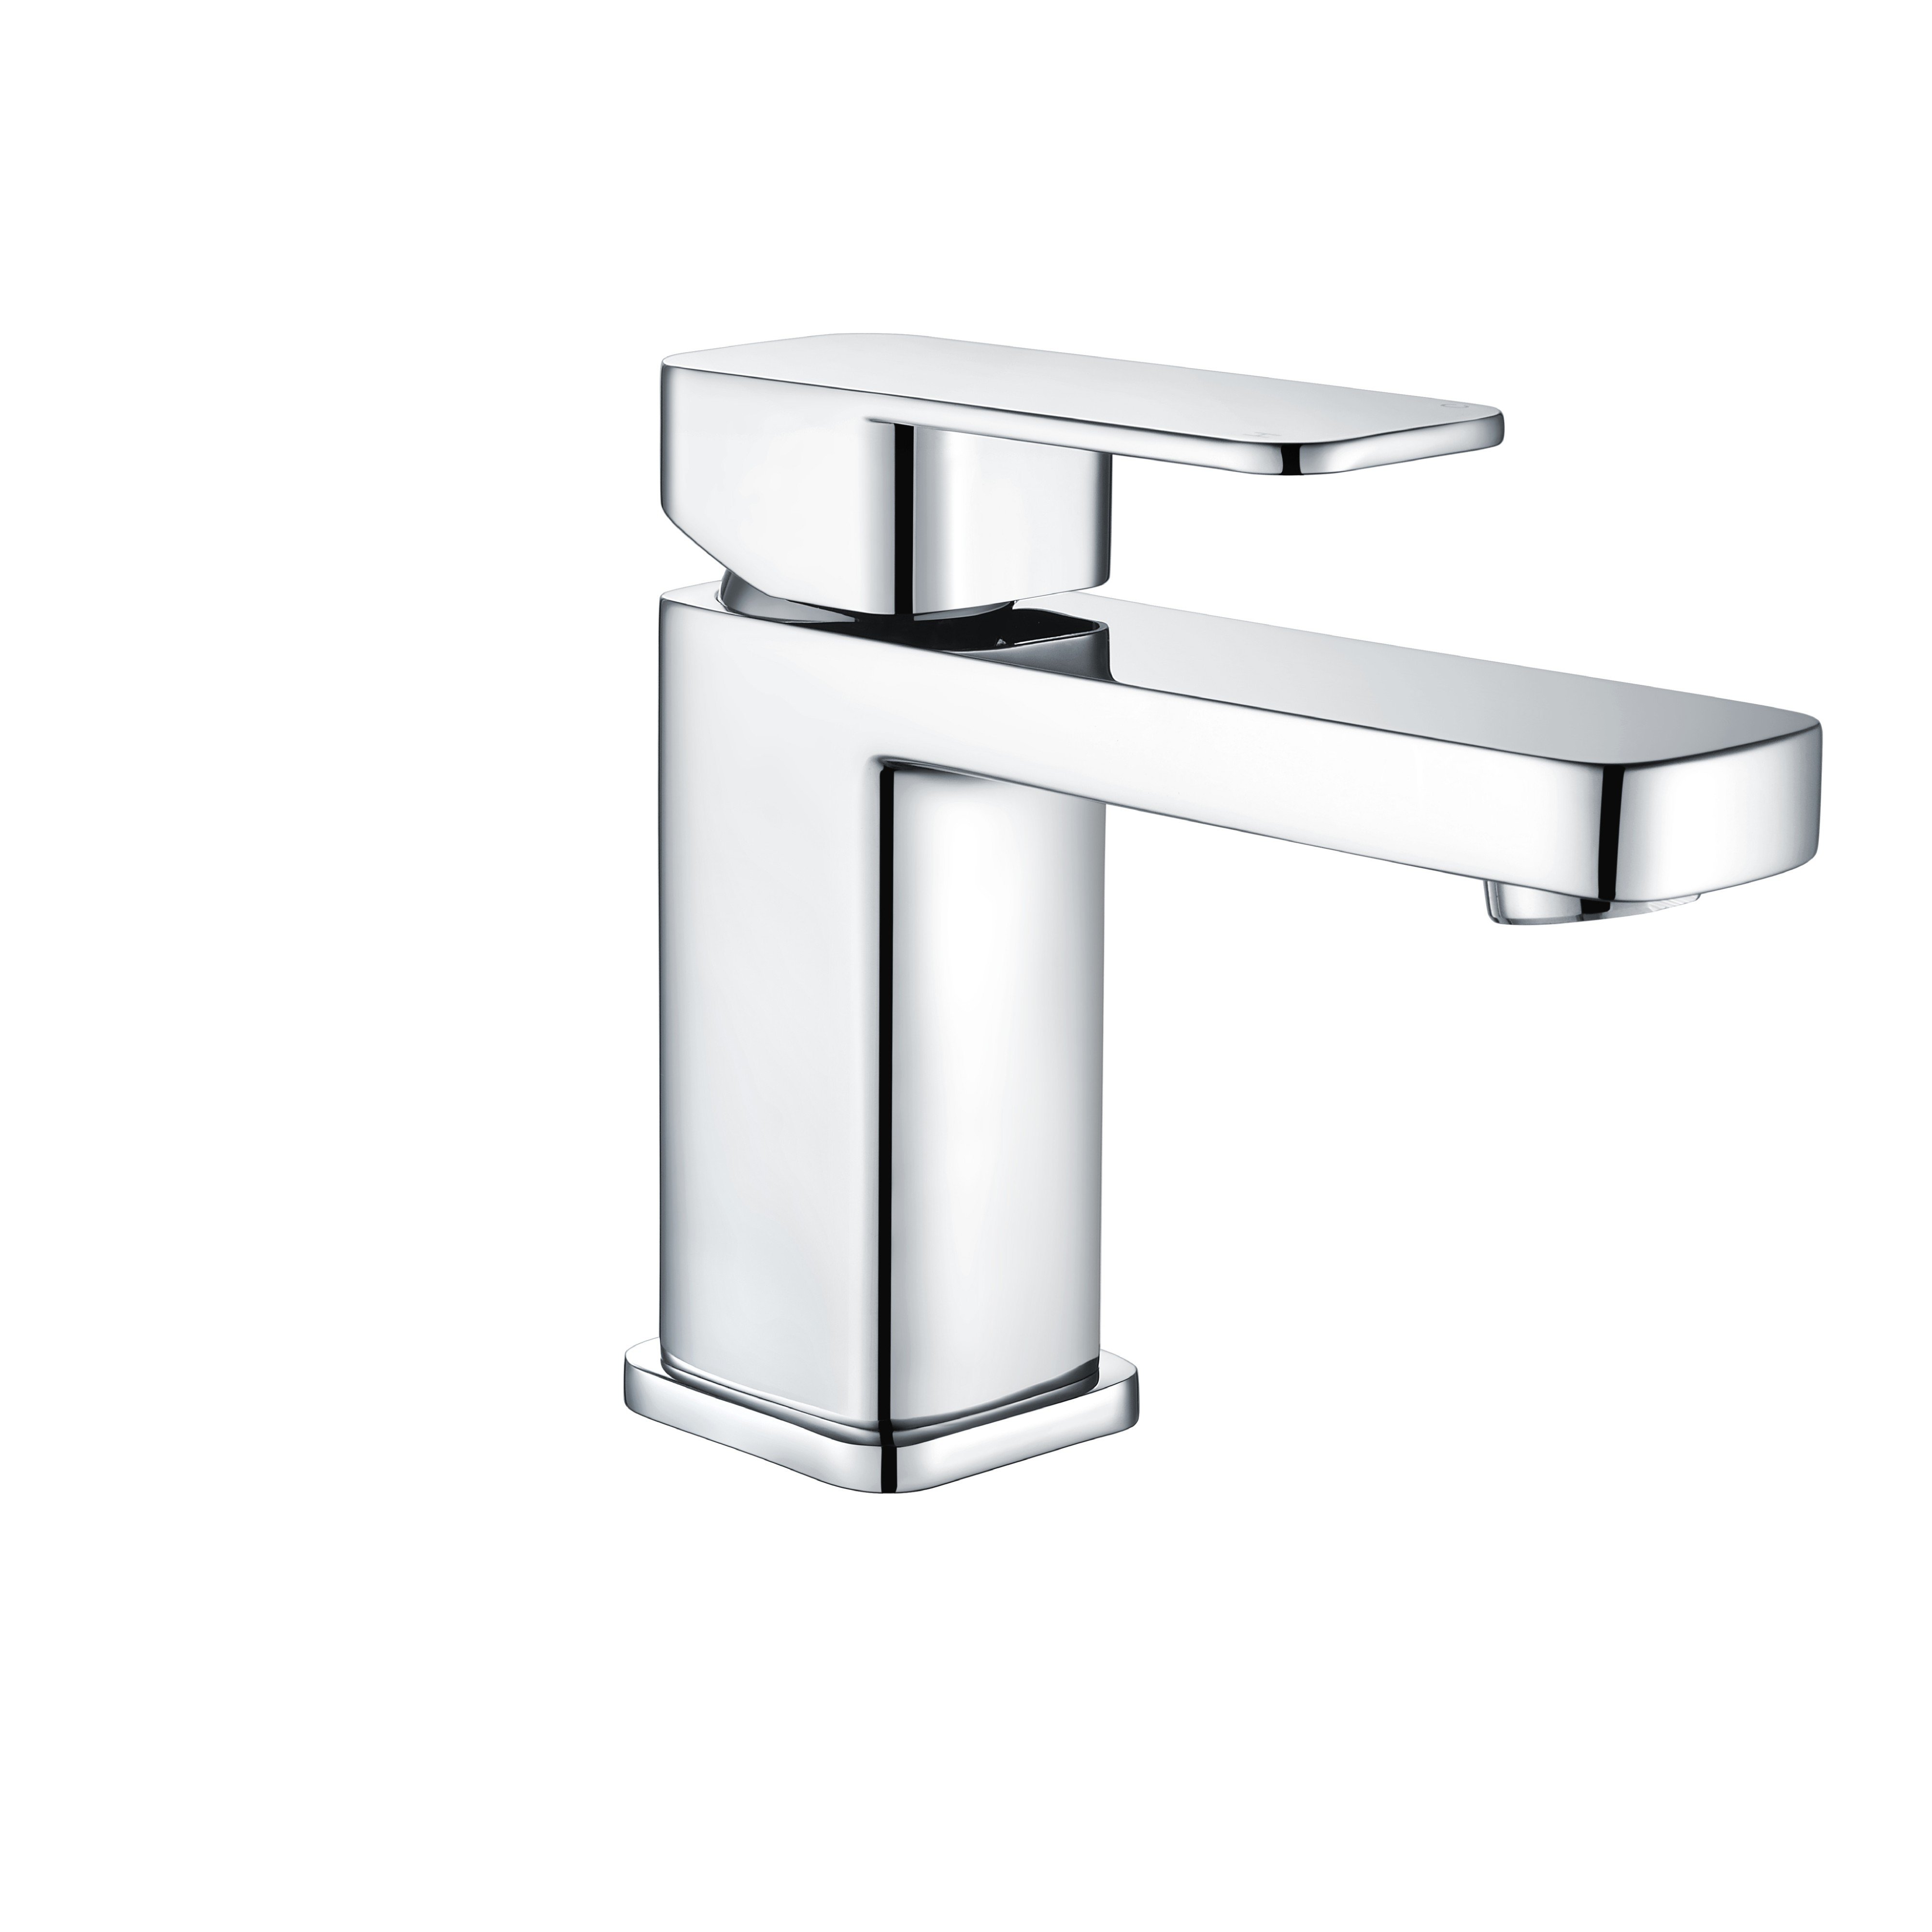
Most pull-out kitchen taps do not die of old age. They die of a hose rubbed through where it passes the shank, a quick-connect O-ring gone hard, or a counterweight that slid down and left the spray head hanging. The body — a brushed nickel pull-out mixer like our T1029N — is usually still sound. The repair is a hose replacement, and it fails predictably.
Chafe at the shank. The hose oscillates every time the head is pulled and pushed back. Rubbing a rough brass shank edge or a stainless supply hose frets the braid until the inner tube splits — a pinhole leak that shows as water on the cabinet base, not at the tap.
Weight migration. The counterweight is clamped, not bonded. Vibration walks it down the hose until retraction force is gone, the head hangs loose and the diverter stops seating.
Seal failure at the joint. Either the quick-connect clip has partly released or the O-ring has taken a set. A tap that drips only when the head is extended is nearly always a joint seal, not a cartridge.
| Part | What to verify before ordering | Typical specification |
|---|---|---|
| Pull-out (guide) hose | Length, outside diameter, both end fittings | 1500–1800 mm; 14–16 mm OD |
| Spray head | Thread form or bayonet, finish match | 1/2″ BSP female or proprietary push-fit |
| Quick-connect body | Whether integrated in the hose or separate | Clip-retained, double O-ring |
| Counterweight | Mass and clamp bore | 100–300 g, sliding clamp |
| Non-return valves | Fitted at both inlets or in the head | Spring-loaded check valve |
Measure the old hose with a caliper before ordering. A 16 mm hose will not pass a shank bored for 14 mm, and forcing it creates a chafe point on the first pull.
Overall length, measured with the head docked, plus the stroke you need to reach the far bowl of a double sink.
Outside diameter, checked at the braid rather than the crimp collar.
Upper fitting — the joint at the spray head or shank top: usually 1/2″ BSP female, M15×1, or a maker-specific bayonet that cannot be cross-matched.
Lower fitting, which is where quick-connect versus threaded matters.
Check the working limits: a braided EPDM or PEX inner tube rated to 70 °C and 10 bar is normal kitchen duty; a 60 °C hose fails early on a 65 °C system.
· · Quick-connect · Threaded ·
|---|---|---|
· Fit time · Seconds, tool-free · Needs spanner and washer ·
· Serviceability · Excellent — head lifts off for cleaning · Slower; washers get lost ·
· Failure risk · Clip not fully seated; hardened O-ring · Cross-threading; overtightening ·
· Mismatch risk · High — lookalike profiles are incompatible · Low — the thread either fits or it does not ·
If the original used a quick-connect, replace like for like from the same maker. These fittings are not standardised, and a clip that feels seated but sits a millimetre proud will weep. Converting to threaded, use a flat fibre or EPDM washer, tightened to contact plus a quarter turn — no tape on plastic.
Mass. Match the original. A 100–150 g weight suits a compact head on a 1500 mm hose; 200–300 g is normal for a large two-function head. Heavier is not better — an oversized weight slams the head into the dock and stresses the quick-connect on every retraction.
Position. The weight belongs on the free-hanging run below the lowest point of the hose loop, so gravity pulls the head home. Slide it until the head seats under light tension with 20–40 mm of slack above the spout. Too low and the head never seats; too high and it will not retract.
Clamp tension. Snug, not crushing. Overtightening flattens the hose wall, and a flattened hose splits at the clamp line within months — a failure that looks like a manufacturing defect but is entirely installation-induced.
Set the weight with water running; a dry setting drifts.
Isolate hot and cold, then open the tap to release residual pressure.
Set a towel and shallow tray under the cabinet connection.
Unclip or unscrew the spray head and drain it into the tray.
Release the lower joint — quick-connect clip or nut — and catch the residual water.
Tape the new hose to the old and draw it down through the shank.
Confirm the new hose clears the bore without contact, then remove the tape.
Reconnect the lower joint and press the retaining clip fully home until it clicks.
Refit the head with a new washer or O-ring, hand-tight plus a quarter turn.
Fit the counterweight and set its position under flow.
Restore water and run the checks below.
Open the isolating valves slowly and check three points: lower joint, head connection, shank entry. Dry each with tissue and watch for a minute — a weep shows as a damp ring, not a drip. Run full flow for two minutes, cycle the head fully ten times, re-check, then inspect again after 24 hours with the cabinet open; a failing quick-connect seal usually shows on the first thermal cycle.
The tap body is what the standards address — EN 817 for mechanical mixing valves, EN 200 for single taps — while flexible hoses are typically built to the principles of EN 1113. Wetted materials must suit the destination market (WRAS in the UK, NSF/ANSI 61 in North America), and the non-return valve stops sink water siphoning into the mains.
Get the hose diameter and weight position right and the assembly outlasts the cartridge; get them wrong and you are back under the sink within a year.
---
Zhejiang Xindong Sanitary Ware Co., Ltd. is an OEM/ODM manufacturer of kitchen mixer taps and brass basin mixers based in Yuhuan, Zhejiang, China. The company produces pull-out kitchen mixers such as the T1029N in brushed nickel, together with basin mixers and matched hose assemblies, for importers and private-label brands.
Contact: [email protected] | +86-0576-87499008 | https://www.cn-xindong.com
 Hot News
2026-11-21
2026-11-20
2026-11-19
2026-11-18
2026-11-17
2026-11-16

The company, founded in 1999 and located in Yuhuan,specializes in taps, thermostatic shower valves and shower kits. With over 30,000 sqm of space and 380+ employees, we hold numerous certifications and 65+ patents.
 EN