Most "defective" brass valves never were defective. They were installed with the wrong sealant, wound the wrong way, or torqued until the body cracked. In the warranty world, installation error is the single most common root cause written on failure analysis reports — and the most preventable.
For plumbers, installers, and the MEP engineers who write the specifications, the difference between a leak-free installation and a callback is a handful of rules that are cheap to follow and expensive to ignore.
The first mistake is mixing thread standards. Brass valves for water service are typically supplied with one of two systems:
• BSP (British Standard Pipe) — parallel (G) or taper (R) threads, the dominant standard in Europe, Asia, and much of the export market. BSP taper-to-taper or taper-to-parallel joints seal on the thread flanks.
• NPT (National Pipe Taper, USA) — taper threads that seal by thread interference and require the thread sealant to fill the spiral leak path.
Never mix BSP and NPT fittings. They look similar and do not seal. If your project imports valves from one standard and fittings from another, stop and standardize before the first joint is made. Check the datasheet — a responsible manufacturer states the thread standard on the product and in the installation instructions.
PTFE tape is the workhorse for BSP threads, applied correctly when:
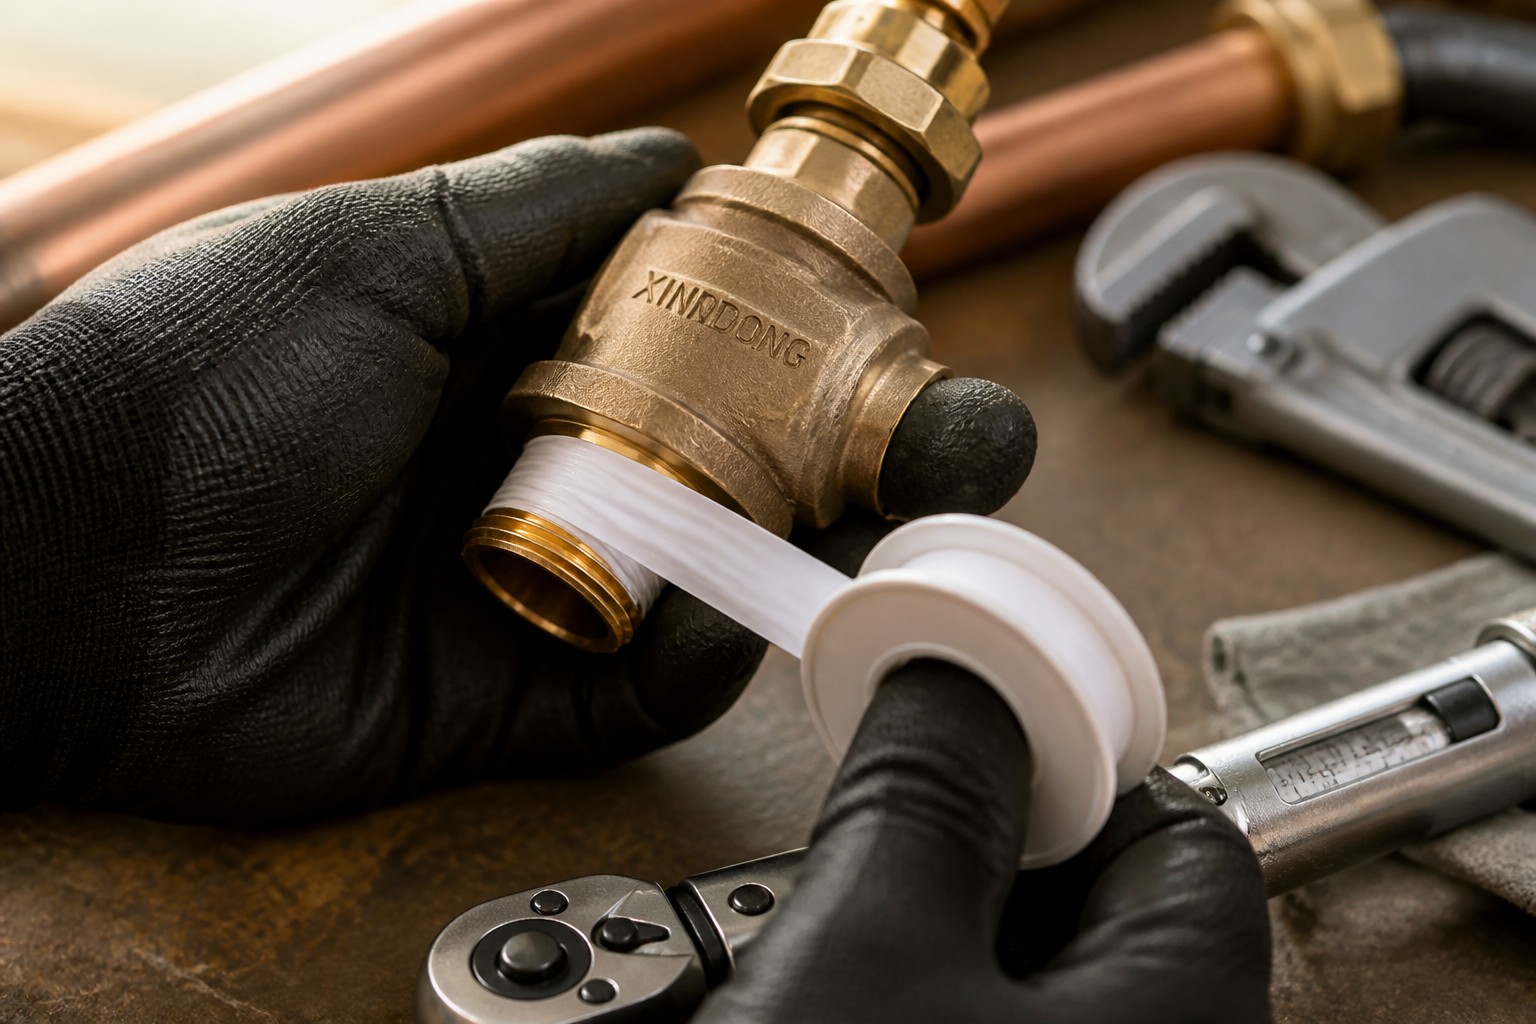
• The tape is wrapped clockwise (looking at the thread end) so that tightening the nut does not unwrap it.
• You apply 2–3 wraps for parallel (G) threads, 3–4 for taper (R) threads — enough to fill the spiral path, not so much that the joint can't seat.
• The first thread is left unwrapped or only lightly covered, keeping tape out of the system where it can shed and clog strainers and cartridges.
• The tape is stretched slightly as you wind it, bedding into the thread root. Use a tape rated for potable water (most are) and never on compression or flare fittings — those seal on metal faces, not threads.
Liquid thread sealants (anaerobic) and paste are better for some joints: they tolerate vibration, fill larger gaps, and are preferred on taper threads and connections that may be disassembled later. Apply per the manufacturer's instructions — typically a full 360° bead starting one thread back — and do not over-apply; excess sealant inside the pipe becomes downstream debris.
What not to use: hemp/linseed compounds on modern brass with PTFE; silicone sealant (not rated for pressure joints); and any sealant on compression joints, which must remain metal-to-metal.
Brass is soft. A 1/2-inch BSP joint made up with a 36-inch pipe wrench at full effort will deform the valve body, crack the casting near the thread, or distort the seat — the valve then leaks or fails in service and the failure is blamed on "product quality."
The correct approach: hand-tighten, then a controlled wrench turn. Beyond hand-tight, additional rotation is typically 1.5–2.5 turns for taper threads and 1–1.5 turns for parallel threads with a seal washer. Where the manufacturer publishes torque values, use a calibrated torque wrench — typical values for brass BSP fittings sit in the 20–50 N·m range for 1/2-inch to 1-inch sizes, but the datasheet always wins over a table.
Practical rules:
• Back up the valve body with a second wrench when making up connections — never transmit torque through the valve's own body or a thin-walled outlet; use the wrench flats, not the handle or cartridge.
• When a joint does not seat within the recommended turns, stop — do not "just give it one more pull." The thread or sealant is wrong.
• For plastic-lined or PEX transitions, follow the fitting manufacturer's torque guidance, which is usually much lower than brass-to-brass values.
1. Clean and inspect. Remove burrs and swarf from the pipe thread; a burr will cut the tape and defeat the seal. Inspect the valve for transit damage — a cracked body from shipping is not an install issue, but it must be caught before the wall is closed.
2. Seal the male thread per the rules above. For valves with strainers or cartridges, consider installing with the body in the correct orientation (check the flow arrow) and access for future service.
3. Make up the joint hand-tight first, then the controlled wrench turn, backing up the body as described. Tighten against the direction of flow where possible to avoid stressing the seal.
4. Do not hang heavy pipe off the valve. Support pipework within the recommended spacing on both sides of every valve; unsupported weight is a slow-motion crack.
5. Pressure test before concealment. Every joint must be tested while visible — the time to find a weep is before the ceiling goes up, not after.
The commissioning pressure test follows a simple protocol:
• Fill slowly and vent air from the highest points; trapped air makes the test read falsely and can water-hammer the system.
• Test at 1.5× the working pressure (or per local code, e.g., 1.5× with a 10-minute hold) with the system isolated, checking every joint visually for weeping. Do not exceed the rated test pressure of the lowest-rated component in the line.
• After the pressure test, flush the lines thoroughly before final connection — solder swarf, tape shreds, and debris are the leading cause of cartridge and thermostatic element failures in the first year.
• Commission thermostatic valves properly: set the maximum temperature limit per specification, then verify outlet temperature at full and reduced flow, and — for TMV2/TMV3 products — confirm the cold-water-failure shutoff works before handover. Record the results.
Documentation for Warranty Protection
Photograph the installation before concealment, log torque values and test pressures, and keep the commissioning record. If a warranty claim ever arises, that record proves the joint was made correctly — and the supplier's failure analysis can exclude installation causes with confidence.
Leak-free brass joints come from three disciplines: matching thread standards, sealing threads correctly with the right material applied the right way, and controlling torque instead of "giving it another pull." Add a proper pressure test and commissioning sequence, and the valve you installed is the valve that performs — for its full service life.
Zhejiang Xindong Sanitary Ware Co., Ltd. manufactures brass valves, faucets, and thermostatic mixing valves with clear thread-standard marking, published installation instructions, and factory pressure testing of every assembly. Xindong's technical team supports B2B customers with installation documentation, torque guidance, and commissioning checklists for OEM and project supply. For installation instructions or technical support, contact us at [www.cn-xindong.com](https://www.cn-xindong.com).
 Hot News
2026-10-17
2026-10-16
2026-10-15
2026-10-14
2026-10-13
2026-10-12

The company, founded in 1999 and located in Yuhuan,specializes in taps, thermostatic shower valves and shower kits. With over 30,000 sqm of space and 380+ employees, we hold numerous certifications and 65+ patents.
 EN
EN