 EN
EN

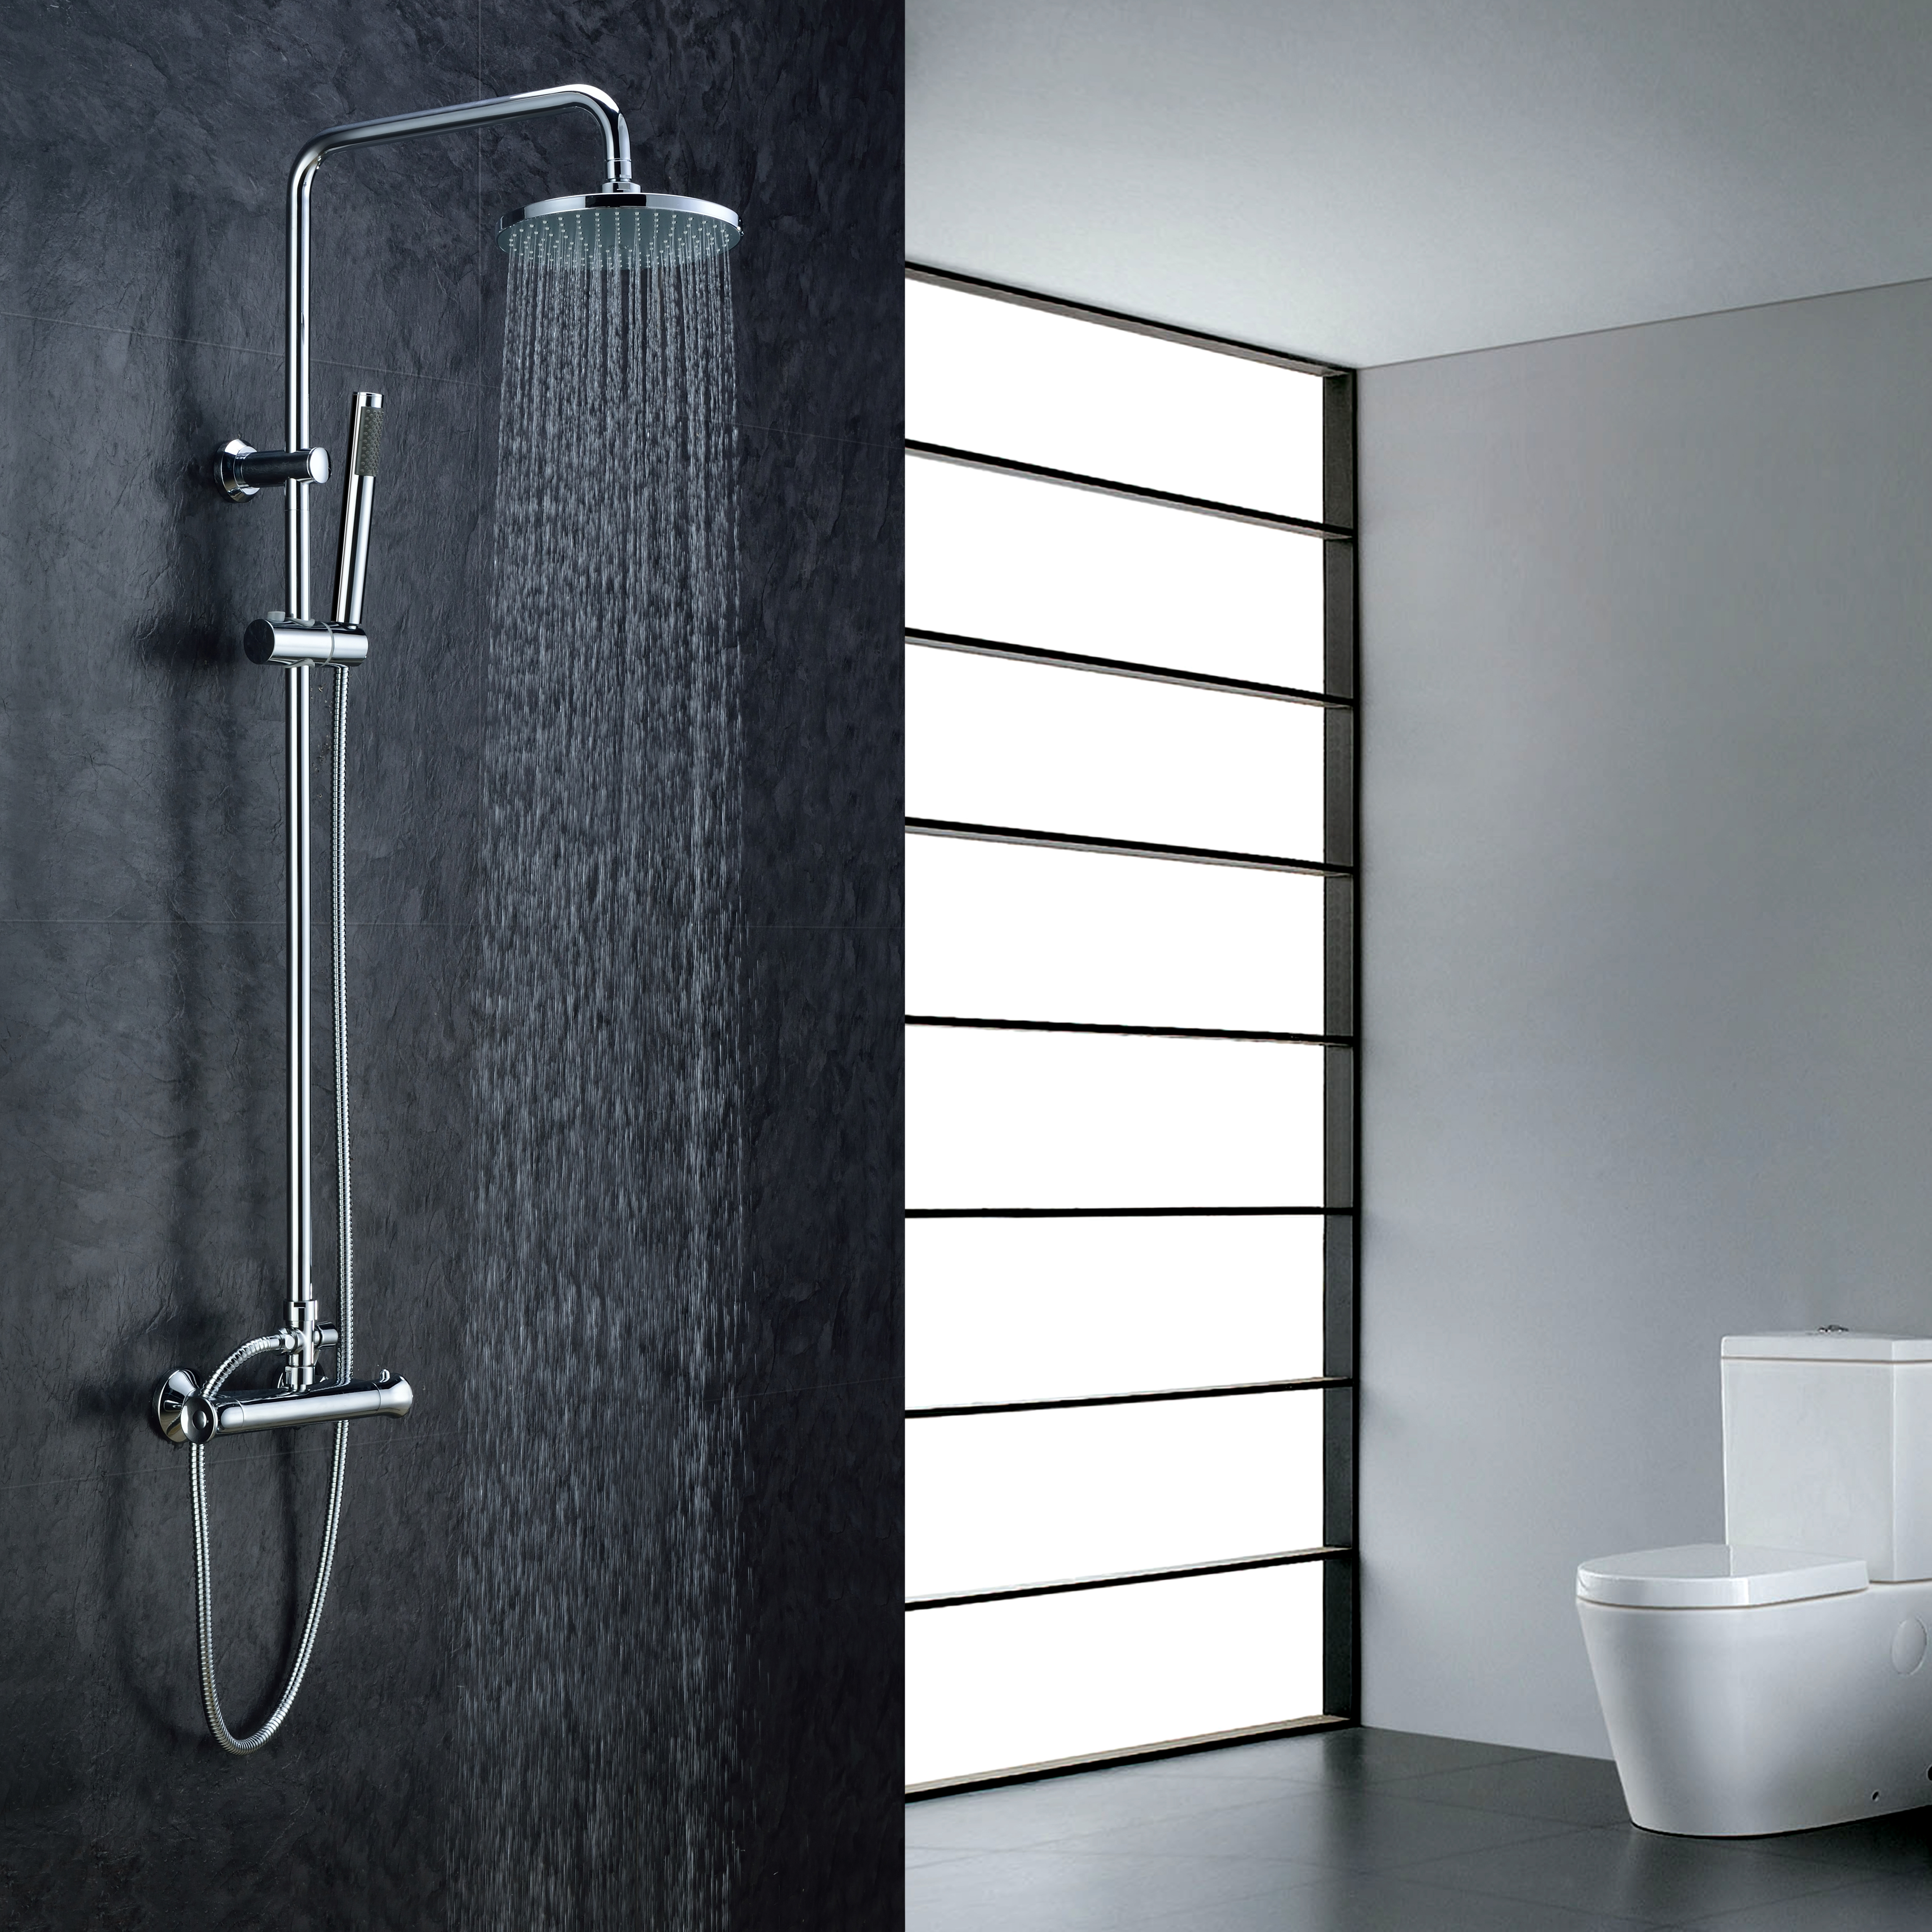
A thermostatic valve is one of the most important components in any modern shower or hot water system, responsible for delivering water at a precise and consistent temperature. Without regular care, a thermostatic valve can become restricted by mineral deposits that build up inside its cartridge and body over time. Understanding how to maintain a thermostatic valve correctly is essential for anyone who wants reliable performance and a longer product lifespan.
Mineral deposits are the number one cause of thermostatic valve failure in hard water areas. Calcium and magnesium ions accumulate on internal components, gradually restricting water flow and interfering with the thermostat cartridge's ability to regulate temperature accurately. A well-maintained thermostatic valve not only prevents these issues but also ensures consistent safety by avoiding sudden temperature fluctuations that could scald users. This guide walks through the complete maintenance process step by step.
Understanding Mineral Deposits in a Thermostatic Valve
Why Mineral Scale Affects Thermostatic Valve Performance
Every thermostatic valve relies on a precision cartridge that expands and contracts in response to water temperature. When limescale accumulates on this cartridge, it restricts movement and causes the thermostatic valve to deliver water that is either too hot or too cold. In severe cases, the thermostatic valve may become completely stuck, requiring full cartridge replacement. Recognizing the early signs of scale buildup helps you act before damage becomes irreversible.
Hard water areas with high calcium carbonate content are particularly challenging for any thermostatic valve installation. Even in moderately hard water regions, a thermostatic valve will accumulate enough deposit within six to twelve months to affect its accuracy. Regular inspection of the thermostatic valve is therefore not optional — it is a proactive maintenance responsibility for homeowners and facility managers alike.
Identifying the Warning Signs in Your Thermostatic Valve
A thermostatic valve showing early mineral deposit issues often presents with several observable symptoms. Water temperature inconsistency is the most common warning, where the thermostatic valve fails to hold a set temperature throughout the shower. You may also notice reduced water flow from the outlet ports, which indicates that deposits have partially blocked the internal passages of the thermostatic valve. In some cases, the control handle on the thermostatic valve becomes stiff and difficult to turn, signaling that scale has reached the spindle or cartridge housing.
Step-by-Step Thermostatic Valve Maintenance Process
Preparing to Clean and Service the Thermostatic Valve
Before beginning any maintenance on a thermostatic valve, shut off the water supply to the unit using the isolation valves typically located behind the wall or beneath the fixture. Depressurize the thermostatic valve by briefly opening the outlet until no more water flows. Lay a clean towel beneath the thermostatic valve to catch residual water and protect the fixture surface. Gather the tools you need: an adjustable wrench, a flat-head screwdriver, a soft brush, and a descaling solution compatible with the thermostatic valve's internal materials.
Consulting the manufacturer's documentation for your specific thermostatic valve is strongly recommended before disassembly. Each thermostatic valve model may have a slightly different cartridge removal sequence. Forcing components without understanding the design can damage the thermostatic valve housing permanently. Take photos of the thermostatic valve assembly at each disassembly stage to make reassembly straightforward.
Cleaning the Thermostatic Valve Cartridge and Filters
Once the thermostatic valve is disassembled, remove the cartridge carefully and place it in a container of white vinegar or a proprietary descaler diluted according to product instructions. Allow the thermostatic valve cartridge to soak for one to two hours, depending on the severity of the mineral deposits. After soaking, use a soft brush to gently remove loosened scale from the surface of the thermostatic valve cartridge without scratching the precision sealing faces.
The inlet filters inside the thermostatic valve body must also be cleaned or replaced. These small mesh screens are the first line of defense against sediment entering the thermostatic valve cartridge. Remove each filter from the thermostatic valve body, rinse it under running water, and use the soft brush to clear any blocked mesh. If a thermostatic valve filter is torn or deformed, replace it immediately to prevent sediment from damaging the cartridge further.
Inspect all O-rings and rubber seals on the thermostatic valve during reassembly. These components are susceptible to hardening and cracking over time, especially when exposed to chemical descalers. If any seal on the thermostatic valve appears worn, replace it with an OEM-compatible part before reassembling the thermostatic valve and restoring water supply.
Preventive Practices to Protect Your Thermostatic Valve Long-Term
Setting Up a Maintenance Schedule for the Thermostatic Valve
Establishing a regular maintenance schedule is the most effective way to protect a thermostatic valve from long-term mineral deposit damage. In hard water areas, inspect and clean the thermostatic valve every six months. In softer water conditions, an annual thermostatic valve service is generally sufficient. Keeping a simple maintenance log for each thermostatic valve in a building helps track service intervals and identify units that need more frequent attention.
Installing an inline water softener or scale inhibitor upstream of the thermostatic valve is another powerful preventive measure. These devices reduce the mineral content in the water before it reaches the thermostatic valve, significantly slowing the rate of deposit accumulation. When paired with a consistent cleaning routine, this approach extends the service life of every thermostatic valve considerably.
Post-Maintenance Testing of the Thermostatic Valve
After completing maintenance, restore the water supply slowly to the thermostatic valve and check for leaks at all connection points. Set the thermostatic valve to a known temperature and verify that the outlet water reaches that temperature within the expected time. A properly maintained thermostatic valve should respond quickly and hold the target temperature consistently throughout the test. If the thermostatic valve still fails to regulate temperature accurately after a full clean, the cartridge may require replacement rather than further cleaning.
FAQ
How often should I service my thermostatic valve?
In hard water areas, a thermostatic valve should be inspected and cleaned every six months. In softer water areas, an annual service for the thermostatic valve is usually adequate to prevent significant mineral deposit buildup.
Can I use any descaler to clean a thermostatic valve?
Not all descalers are safe for every thermostatic valve material. Always use a descaler that is compatible with brass, ceramic, and rubber components. White vinegar is a gentle option that works well for most thermostatic valve cartridges without causing material damage.
What happens if I do not maintain my thermostatic valve regularly?
A neglected thermostatic valve will eventually fail to regulate water temperature accurately, creating both discomfort and safety risks. Severe mineral buildup can permanently seize the thermostatic valve cartridge, requiring a full cartridge or unit replacement that is far more costly than routine maintenance.