The most expensive mistake in a bathroom is not a scratched tap. It is a 38 mm hole drilled 12 mm off centre in a stone vanity top that took six weeks to arrive. Hole position is unrecoverable in stone, marginal in composite and impossible in vitreous china. Diameter, on the other hand, is something you can plan — and if you get it slightly wrong, sometimes rescue.
Buyers routinely ask for "a 35 mm hole" because the mixer has a 35 mm cartridge. That is the right number for most single-lever basin mixers, including the standard brass basin mixer bodies in our range, but the logic deserves one sentence of care: the hole must clear the threaded shank and its O-ring seat, not the cartridge inside the body. On nearly all 35 mm-cartridge basin mixers the shank measures 32–34 mm, so a 35 mm hole gives the 1–1.5 mm clearance needed for the sealing washer to compress evenly.
Cartridge size |
Typical shank OD |
Hole diameter |
Notes |
35 mm |
32–34 mm |
35 mm (+0.5 / 0) |
Standard monobloc basin mixer; the majority of residential specifications |
40 mm |
37–39 mm |
40 mm (+0.5 / 0) |
Larger bodies, higher flow, some deck-mounted and bidet mixers; confirm with the supplier's drawing |
40 mm, deep-body variants |
40–41 mm |
42 mm |
Check before drilling — this is where "40 mm" assumptions fail |
Two further dimensions matter more than most installers expect. First, deck thickness: a standard fixing kit suits 0–40 mm of material, and thicker stone needs an extension kit or a longer shank, not a bigger hole. Second, underside clearance: on ceramic, look for the overflow channel, reinforcing ribs and the hollow between the bowl and the deck. A hole that is perfect from above can break into a cavity below and leave the fixing nut with nothing to clamp.
Also check the product's declared installation dimensions. A basin mixer tested to EN 817 has a defined body, spout reach and mounting arrangement; the drawing tells you the minimum distance from the hole centre to the back edge and to the bowl, and that distance is not negotiable for spout clearance.
Vitreous china and porcelain are hard, brittle and unforgiving. Drill them with an electroplated or sintered diamond core bit, wet, at low speed. There is no useful comparison with a masonry bit; carbide tears the glaze and propagates cracks.
Practical parameters that work across most substrates:
Substrate |
Bit |
Speed |
Cooling |
Main risk |
Vitreous china / porcelain |
Diamond core, continuous rim |
400–700 rpm |
Water flood or clay dam |
Exit spall, glaze star-cracks |
Marble / limestone |
Diamond core, soft bond |
600–900 rpm |
Water |
Heat burn, edge breakout |
Granite / engineered quartz |
Diamond core, hard bond |
400–600 rpm |
Water |
Slow cut, core glazing |
Solid surface / acrylic composite |
Carbide or diamond hole saw |
800–1,200 rpm |
Air or mist |
Melted kerf, grab at breakthrough |
Gel-coated cast marble |
Fine-tooth hole saw |
600–800 rpm |
Air |
Gel-coat fracture, visible white ring |
Three rules reduce chipping more than any bit upgrade:
Start at an angle. Begin at roughly 45° with the core rim on the marked centre, cut a crescent guide groove, then bring the drill upright. This stops the bit walking across a glazed surface.
Support the exit. Clamp a sacrificial board or a tight-fitting offcut under the hole so the core cannot blow out the last 2 mm of material. On ceramic, drilling 60–70% from the top and completing from underneath virtually eliminates exit spall.
Let the diamonds cut. Pressure does not increase speed on porcelain; it glazes the rim and heats the glaze. Use light, steady feed and flush the swarf. Peck-drill in 3–5 mm increments on thick stone.
Use a template or a guide plate for any hole that carries a visible escutcheon, and mark the centre with a punch or a diamond scribe rather than a pencil, which vanishes under water.
Oversized. A hole 1–3 mm over size is recoverable: a reducing bush or top-hat adaptor (40 mm down to 35 mm) seats in the hole and restores the clamping face. Beyond that, a decorative flange or spreader plate covers the gap and spreads the load. Never centre a mixer in an oversized hole with tape, silicone alone or a stack of washers — the body will move under lever load and the seal will weep.
Misplaced by a few millimetres. In solid-surface and composite tops, the hole can be plugged with a colour-matched plug and two-part adhesive, then re-drilled once fully cured, provided the new hole does not overlap the plug. In stone, a matching plug is possible but visible under raking light; most specifiers accept it only under a vanity unit or behind a concealed fixing. In glazed ceramic there is no reliable structural repair: a filled hole will Craze and the repair will show. Replace the basin, or repurpose the hole for a soap dispenser or a blanking cap if the position allows.
Too close to the edge or the bowl. Do not simply enlarge. Fit a spreader plate under the fixing nut to distribute clamping load, or change to a model with a smaller base diameter. A crack that starts at a hole edge during tightening will not appear until the first hot-water cycle.
Drilling a basin is a five-minute job with a forty-minute setup. The setup is the part that protects the basin.
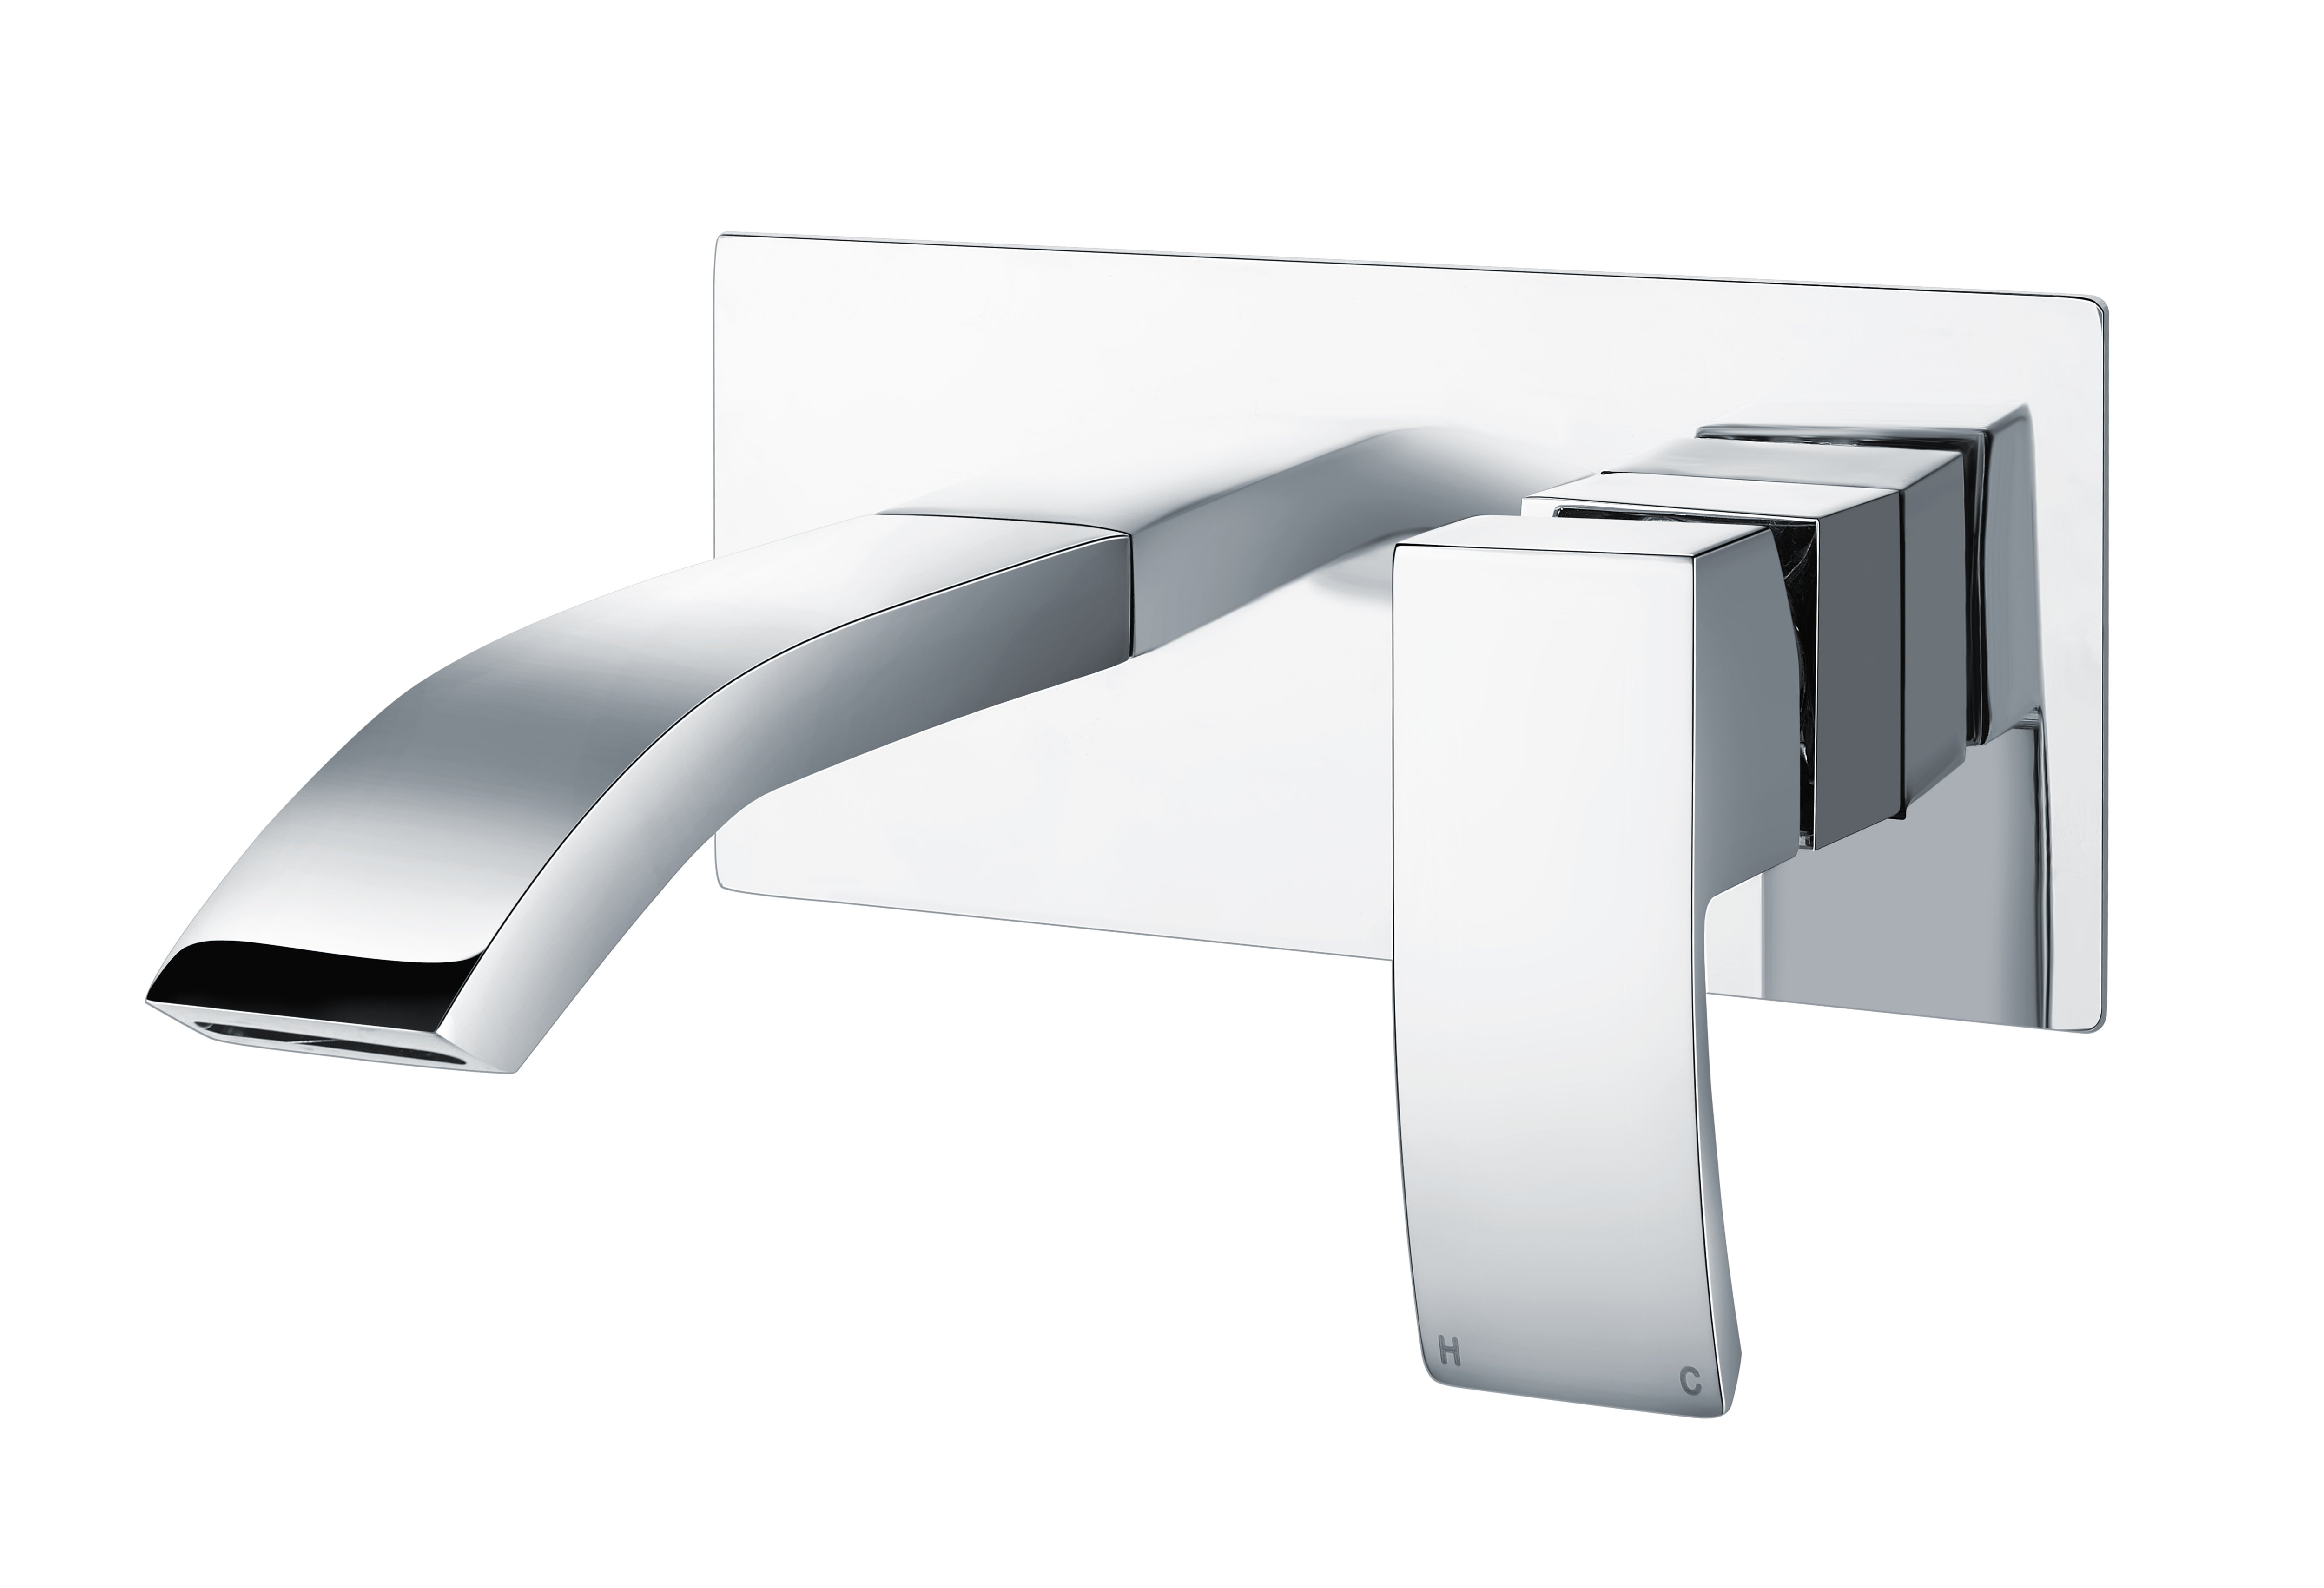
Zhejiang Xindong Sanitary Ware Co., Ltd. manufactures brass basin mixers (T749002, T713002, T8802, T7502, T7102), the wall-mounted basin mixer T730022 and kitchen mixer taps (T1029N) in Yuhuan, Zhejiang, China, and supplies installation drawings with every OEM order. For dimensional queries, contact [email protected] or +86-0576-87499008.
 Hot News
2026-11-06
2026-11-05
2026-11-04
2026-11-03
2026-11-02
2026-10-29

The company, founded in 1999 and located in Yuhuan,specializes in taps, thermostatic shower valves and shower kits. With over 30,000 sqm of space and 380+ employees, we hold numerous certifications and 65+ patents.
 EN